Creating an email signature will automatically put whatever you want at the bottom of every email. You can create different signatures for different emails. For instance you may have a signature for emails that are internal to your organization and another signature for emails that go outside your organization. You could have another signature for emails sent to your family and perhaps another that you use for your volunteer work. There are two ways to create an email signature.
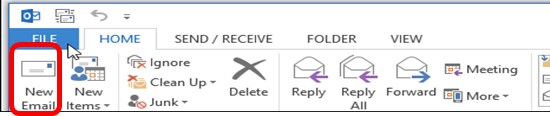
The first way is in a blank email message.
1. Open a new email message. (Once you have created a default signature it will appear at the bottom of the email).
2. In the ribbon, click on the “Signature” button. A small drop down list will appear showing all of the custom signatures you have already created. If you don’t want to use the default, select a different signature from this list.
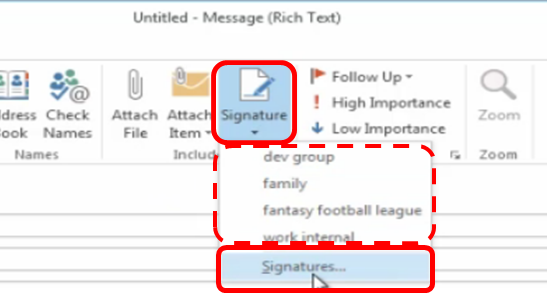
3. To create a new signature, click “Signatures”.
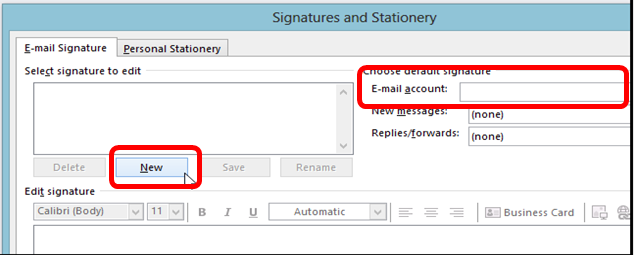
4. Be sure the correct email account is selected. Click the “New” button.
5. Type a name for the signature i.e. internal, family, softball league, etc.
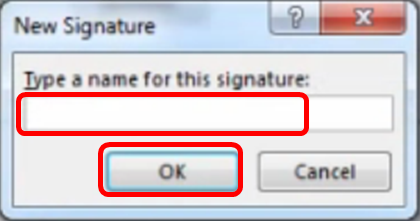
6. Click OK.
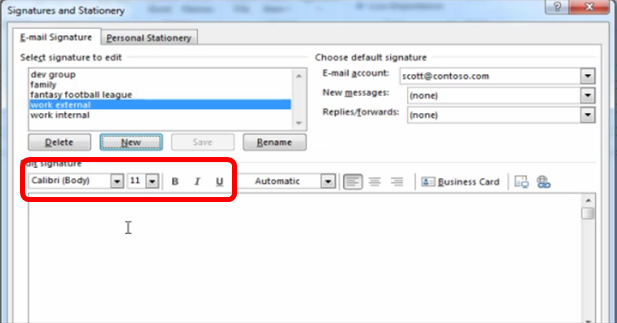
7. The Signatures dialog box opens. Note: this is where you can edit existing signatures. Type your new signature in the blank field.
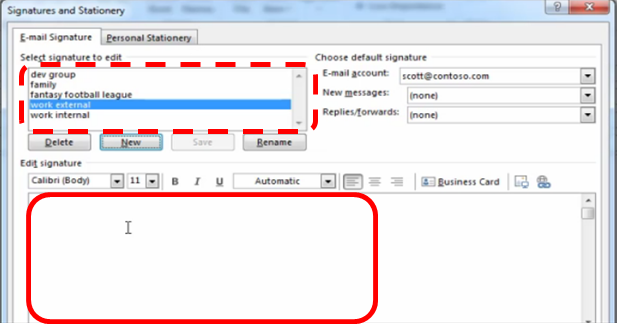
8. Use the formatting buttons to make the signature look more interesting.
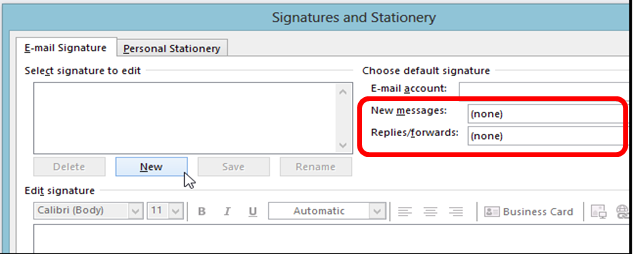
9. To include the signature in new messages, click the “New messages” drop down and select the signature from the list. Do the same for “Replies/Forward”
10. Click OK
The second way to create a custom signature is by using “Options”
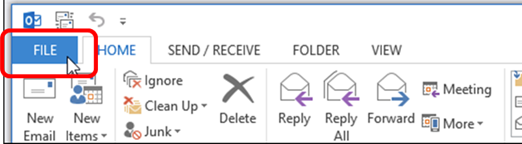
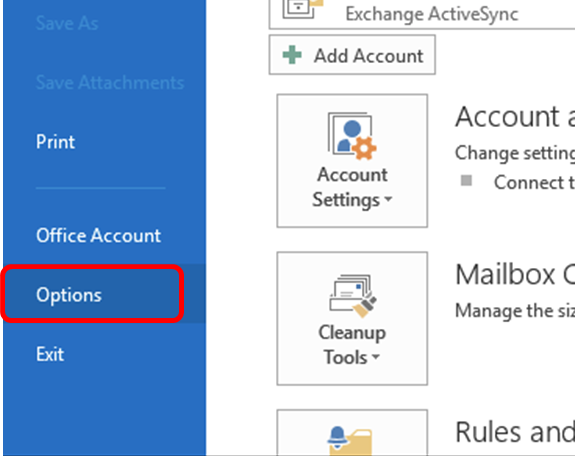
1. In Outlook, click on the “File” tab
2. In the list on the left, click on “Options”
3. In the new list on the left, click on “Mail”
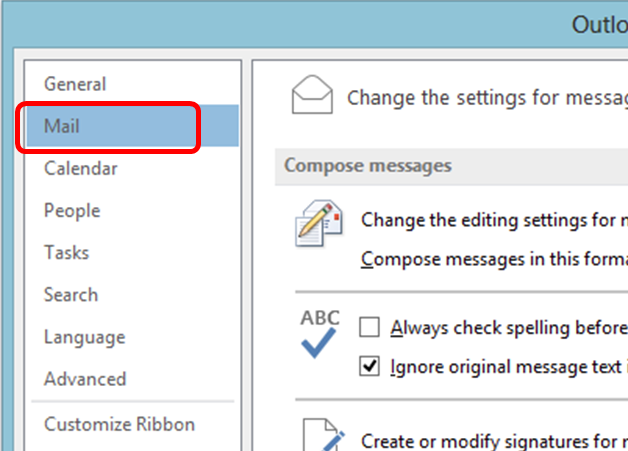
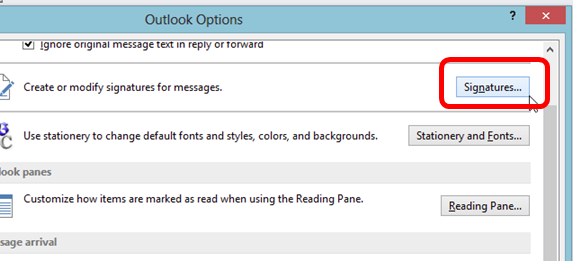
4. On the right hand side of the window click on the “Signatures” button.
5. Be sure the correct email account is selected on the right hand side. Click the “New” button.
6. Type a name for the signature i.e. internal, family, softball league, etc..
7. Click OK.
8. The Signatures dialog box opens. Note: this is where you can edit existing signatures. Type your new signature in the blank field.
9. Use the formatting buttons to make the signature look more interesting.
10. To include the signature in new messages, click the “New messages” drop down and select the signature from the list. Do the same for “Replies/Forward”
11. Click OK
All opinions, advice, and experiences of guest bloggers/columnists are those of the author and do not necessarily reflect the opinions, practices or experiences of Solo Practice University®.


As an IT professional with over 9+ years of diverse technical experience I’ve written many knowledge base documents on MS Outlook and other Microsoft applications… Chelsey, I just want to say that this one is by far one of the best and easiest to follow posts for creating email signatures in outlook. Good job, looking forward to more posts from you.